
So now you’re cookin’! You’ve got your images uploaded. Go to the front page and see this:
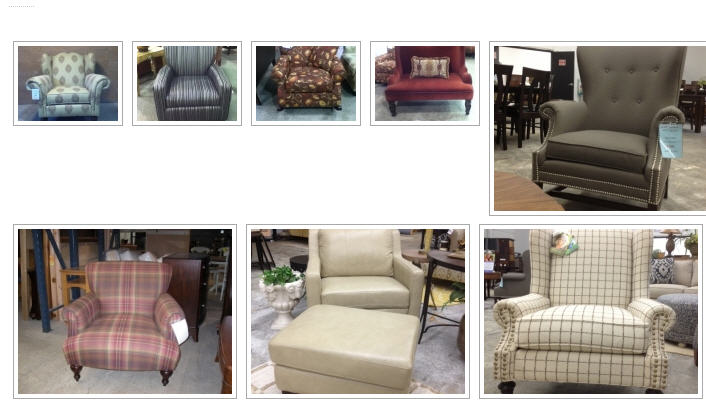
What the??? That’s not what I wanted!
Not to worry! NextGen Gallery makes it ridiculously easy to change the size of thumbnails. Login to your WordPress Dashboard if you haven’t already and follow these steps:
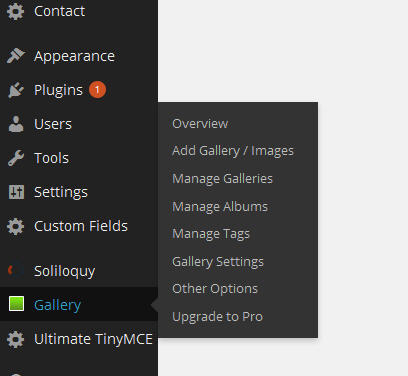
1. Mouse over Gallery and select “Manage Galleries” from the flyout menu
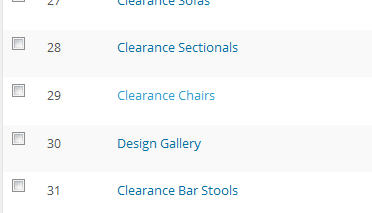
2. Click the gallery you want to add
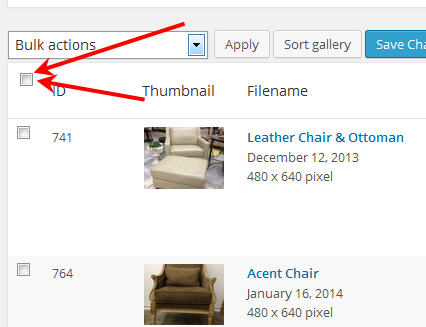
3. Check the box at the top to select all the images on the page *note if you have more than one page, you’ll need to repeat this process on each page.

4. When all images are selected, select “Create New Thumbnails” from the bulk action menu at the top and click “Apply”

5. Select the new dimensions from the drop down then click OK

6. Wait for a moment while NextGen does it’s thing….

…then go to your gallery page again and….BOOM SHAKALAKA! Uniformed bliss!

